In the world of baking, precision is paramount. Every ingredient, every measurement, and every temperature plays a crucial role in the final outcome. And while it might seem like a minor detail, the state of your butter—specifically, whether it's perfectly softened without being melted—can be the difference between a baking triumph and a culinary misstep. Forget perfectly chewy cookies that don't spread into puddles, or a cake that rises beautifully with a tender crumb. It all often hinges on that unassuming stick of butter.
Many recipes call for "softened" or "room temperature" butter, yet countless home bakers find themselves in a predicament: they've forgotten to take the butter out of the fridge, and now they need it ready, fast. The good news? You don't have to wait an hour, nor do you have to risk a melted mess. We're diving into the essential definition of softened butter and foolproof ways on how to soften butter quickly and effectively, ensuring your baked goods always turn out just right.
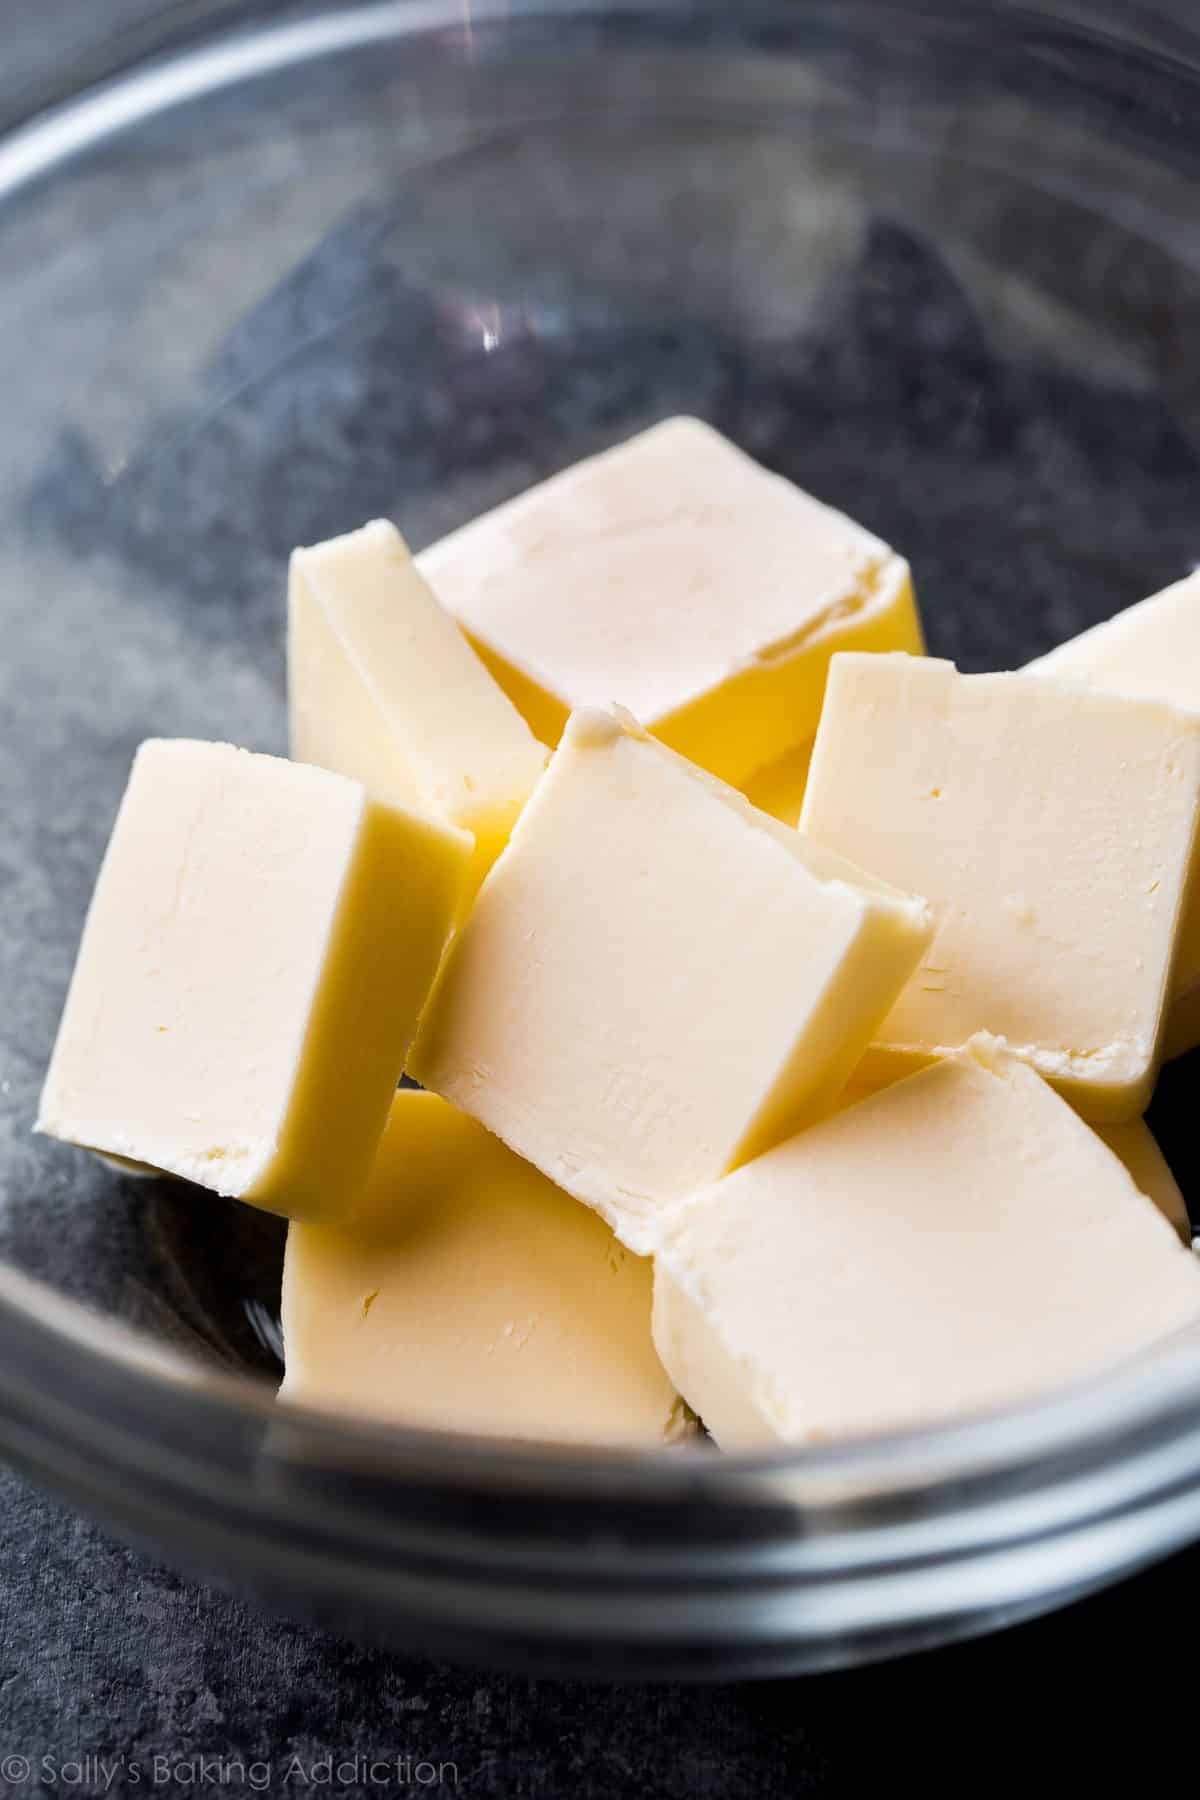
Understanding Softened Butter: More Than Just "Not Cold"
Before we explore the speediest methods, it's vital to understand what "softened butter" actually means. It's not just butter that isn't straight from the fridge; it's a specific consistency that impacts your baking significantly. Think of it as the Goldilocks zone for butter – not too cold, not too warm, but just right.
The Ideal State: Softened butter should be cool to the touch, ideally sitting between 65°F and 68°F (18°C and 20°C). When you gently press it with your finger, it should leave a distinct indentation without your finger sinking deeply or feeling greasy. Imagine the texture of playdough – pliable and yielding, but still holding its shape. It should not look oily or shiny, which are tell-tale signs of it being too warm and starting to separate.
- Too Cold: If your butter is too cold, it won't properly cream with sugar. This crucial step is where air is incorporated into the fat, creating pockets that contribute to a light, airy texture. Cold butter leads to dense cookies and heavy, compact cakes.
- Too Warm/Melted: On the flip side, if butter is too warm or, worse, melted, its emulsion begins to break down. The fat and water components separate, leading to a greasy texture, a batter that can't hold air, and a finished product that might be tough, crumbly, or spread excessively.
Understanding this balance is the first step towards mastering your baking. If you want a deeper dive into why this specific consistency is so critical, you might find our article Why Softened Butter Matters & How to Get It Fast incredibly insightful.
The "Oops, I Forgot!" Dilemma: Why Quick Methods are Essential
Let's be honest: who hasn't decided to bake on a whim, only to realize the butter is rock-hard in the fridge? While the best method for truly softened butter is letting it gradually come to room temperature on the counter for about an hour, real life rarely affords us such foresight. The exact time depends on your kitchen's ambient temperature, allowing the butter to warm evenly from the inside out.
However, when time is of the essence, or your baking inspiration strikes spontaneously, having a repertoire of quick, reliable methods for how to soften butter quickly becomes an absolute lifesaver. The key is to introduce warmth and increased surface area without crossing the line into melting territory.
Foolproof Methods: How to Soften Butter Quickly Without Melting It
Forget risking a microwave disaster or impatiently waiting. Here are some of the most effective and reliable techniques to get your butter perfectly pliable in minutes.
Method 1: The Hot Glass Trick (Our Top Pick!)
This method is a favorite among professional and home bakers alike for its speed and consistent results. It uses indirect, contained heat to warm the butter gently.
- Prepare the Glass: Choose a heatproof glass (like a drinking glass or a mug) that's large enough to cover your stick of butter. Fill it with very hot tap water and let it sit for about 30 seconds to a minute. This allows the glass to heat up thoroughly.
- Empty and Place: Pour out the hot water and immediately invert the warm glass over your stick of butter on a plate or cutting board.
- Wait: Let the glass sit over the butter for 5-10 minutes. The trapped heat and moisture will create a mini-sauna effect, gently warming the butter.
- Check: Remove the glass and perform the finger test. Your butter should be perfectly softened.
Why It Works: The enclosed, warm air gently transfers heat to the butter, softening it evenly from the outside in without the risk of direct, intense heat that can cause melting or separation. This method is so effective, we've dedicated an entire guide to it: check out our Foolproof Trick: Soften Butter in Under 10 Minutes for more in-depth tips!
Method 2: Grating for Rapid Softening
This is arguably the quickest method that doesn't involve any added heat, relying instead on drastically increasing the butter's surface area.
- Grab a Grater: Take your cold stick of butter and a standard box grater (using the large holes).
- Grate Away: Grate the entire stick of butter onto a plate. The butter will instantly transform into thin, delicate shreds.
- Wait a Moment: Spread the grated butter into a single layer. These tiny pieces will reach room temperature in just a few minutes, usually 5-10 minutes depending on your kitchen's warmth.
- Gather and Use: Once softened, gather the shreds together and use them as directed in your recipe.
Why It Works: By creating many small pieces, you expose a much greater surface area to the ambient air, allowing the butter to warm up almost instantly. This method is particularly excellent if you're going to be creaming the butter with sugar anyway, as the grating gives you a head start on aeration.
Method 3: The Microwave (With Extreme Caution!)
The microwave is a notoriously tricky tool for softening butter, as it can go from perfectly soft to a melted puddle in seconds. If you must use it, proceed with extreme caution.
- Cut into Chunks: Cut your stick of butter into 1-inch cubes. This helps it heat more evenly.
- Low Power, Short Bursts: Place the butter pieces in a microwave-safe bowl. Microwave on 10-20% power for 10-15 second intervals.
- Flip and Check: After each interval, flip the butter pieces, rotate the bowl, and check their consistency. Repeat until just pliable.
Why It Works (But Risky): Microwaves heat water molecules rapidly. Because butter contains water, it can heat unevenly and quickly melt internal sections while the outside still looks firm. Low power and short bursts give you more control, but it still requires vigilance.
Method 4: Pounding or Rolling (Physical Manipulation)
This method uses physical force to soften butter by breaking down its crystalline structure and generating slight warmth through friction.
- Encase the Butter: Place your cold stick of butter between two sheets of parchment paper or inside a resealable plastic bag.
- Pound or Roll: Using a rolling pin, meat mallet, or even the bottom of a heavy pan, gently but firmly pound or roll the butter. Aim to flatten and spread it, rotating frequently.
- Shape and Test: As you work, the butter will become more pliable. After a few minutes, gather it back into a stick-like shape and perform the finger test.
Why It Works: The mechanical action breaks the butter's fat crystals, making it softer and more malleable. The slight friction also generates a bit of warmth, speeding up the softening process without the risk of melting.
Method 5: The Warm Water Bath (Indirect & Gentle)
Similar to the hot glass method, this technique uses a warm environment to gently bring the butter to temperature.
- Seal the Butter: Cut the butter into a few pieces and place them in a resealable plastic bag, squeezing out as much air as possible before sealing it tightly.
- Prepare the Bath: Fill a medium bowl with warm (not hot!) water. The water should feel warm to the touch, like bathwater, around 90-100°F (32-38°C).
- Submerge: Place the sealed bag of butter into the warm water, ensuring no water can leak into the bag.
- Wait and Turn: Let it sit for 5-10 minutes, turning the bag occasionally to ensure even exposure to the warmth.
Why It Works: The water bath provides consistent, gentle heat that surrounds the butter, warming it evenly without direct contact that could lead to melting. Sealing the butter is critical to prevent it from becoming waterlogged.
Common Mistakes to Avoid When Softening Butter
Even with the best intentions, it's easy to make mistakes when trying to rush the softening process. Here are some common pitfalls and how to steer clear of them:
- Over-Microwaving: This is the cardinal sin of quick butter softening. Even a few extra seconds can turn a firm stick into an oily mess with solid bits in the middle – a baker's nightmare that is unusable for creaming.
- Using Boiling Water for the Hot Glass/Water Bath: Water that's too hot will melt the butter's exterior almost instantly, leading to separation. Always opt for warm, not scalding, water.
- Leaving it in Direct Sun: While it might seem like a quick fix, direct sunlight can heat butter unevenly, leading to a melted exterior and still-cold interior.
- Impatience: Regardless of the method, a quick finger test is always necessary. Don't assume it's ready; verify its pliability.
- Not Understanding the "Finger Test": Remember, an indentation, not a deep sink. If your finger goes right through, it's too warm.
Beyond the Quick Fix: The Science of Softened Butter
At its core, baking is science. The precise consistency of softened butter isn't just a recommendation; it's a critical component for achieving specific chemical and physical reactions in your dough or batter. When butter is softened to that ideal 65-68°F range, it's malleable enough to allow sugar crystals to create tiny air pockets during the creaming process. These air pockets are what expand in the oven, giving cakes their rise and cookies their tender chew.
A properly aerated butter and sugar mixture forms a stable emulsion, binding your ingredients together beautifully. This structure is what prevents cookies from spreading too thin, gives cakes their delicate crumb, and ensures an even bake. Without it, you're fighting an uphill battle for texture and rise.
So, the next time a recipe calls for softened butter, you'll not only know how to soften butter quickly and effectively, but you'll also understand the profound impact this seemingly simple step has on your baking success. Happy baking!
